How to Integrate PriceCharting Data Into Shopify
This tool works with: Video games & Trading Cards only. We plan to add other categories in the future.
Current Access:
You do not have access to Shopify integration.
Partial directions are listed below.
Signup for Legendary Level Subscription
for full access.
Basics of Shopify Integration
We've created a tool for Legendary level subscribers to automatically update their Shopify store prices based on PriceCharting price data.
You go through some initial steps to link your PriceCharting subscription with our Shopify tools. This takes about 5-10 minutes.
Then you setup rules linking our price data with your Shopify store inventory. You can link products via UPC, Amazon ASIN, PriceCharting ID or TCGPlayer ID. And choose from multiple price points including "Loose", "CIB", "New", "Suggeted Loose Sell Price", "Suggested CIB Sell Price", "Gamestop Price", and more. Trading cards have their own price points too.
You can also choose to run price updates on a schedule or automatically on a regular basis.
Initial Setup
These initial steps are required one time so our tool can create a connection between your PriceCharting account and your Shopify account. This should take about 5-10 minutes to complete.
Create Account in Linking Tool
Visit this link:
link will appear when you are Legendary level subscriber
You should see a page that looks like this:
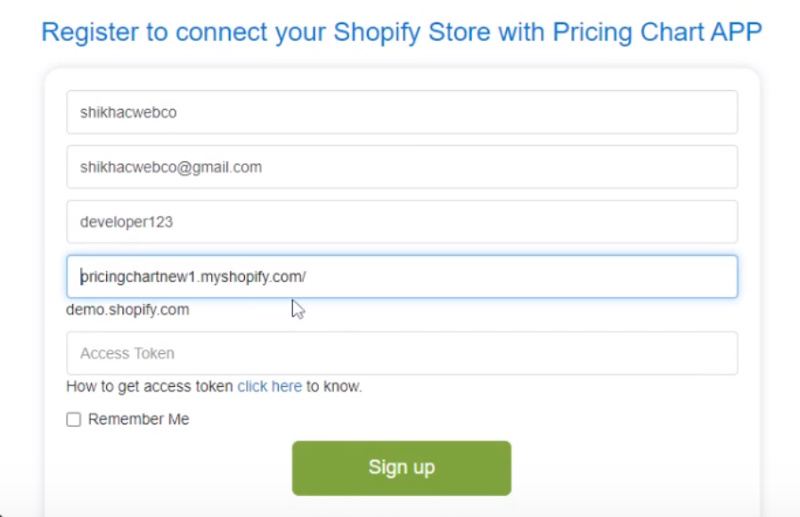
- Enter any name/username
- Enter your email address
- Enter a password
-
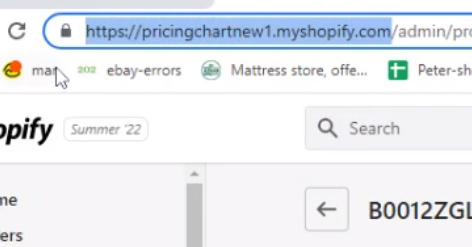
Enter your myshopify.com store name
Copy/Paste this from the url on myshopify.com.
Be sure to remove thehttps://portion
- Copy/Paste your access token from Shopify (see next section for directions)
Create Shopify Access Token
You can follow the latest Shopify steps for this here or follow our directions below.
-
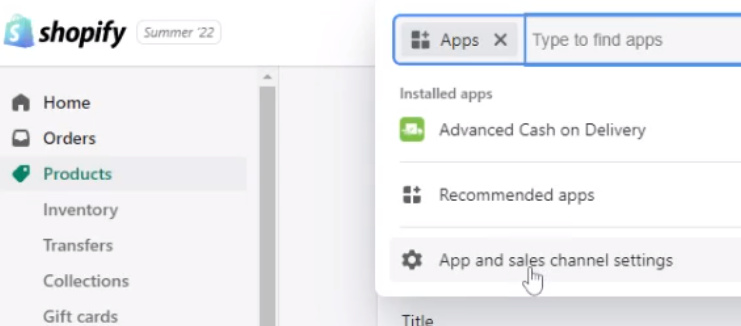
From Shopify Admin, click Settings > Apps and sales channels
-
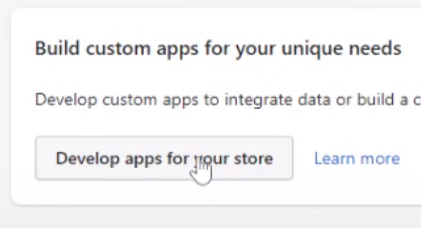
Click "Develop apps for your store" button
- Click "Allow custom app development" button
- Click "Allow custom app development" button again (a confirmation)
-
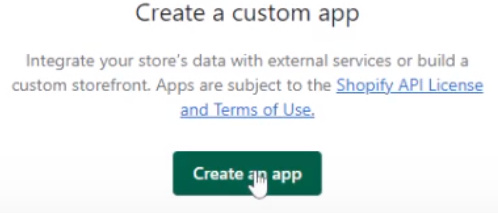
Click "Create an app" button
-
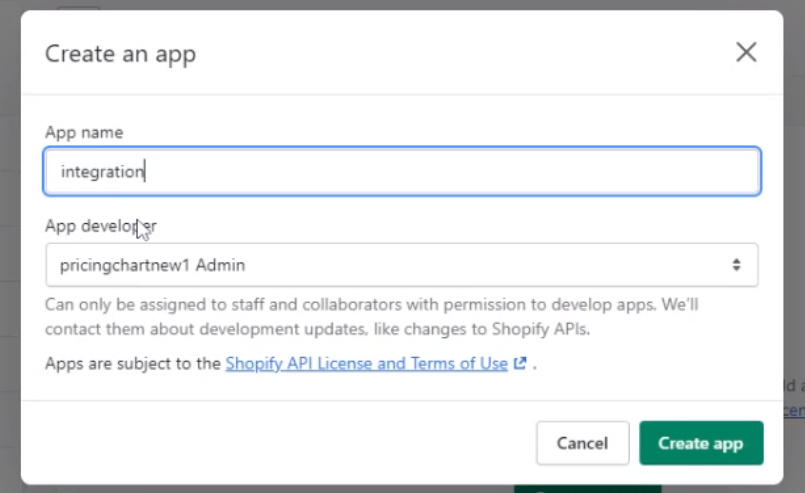
Give you app any name, like "PriceCharting Integration"
Click "Create App"
-
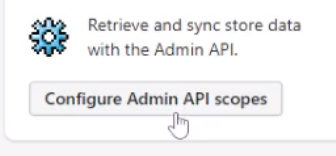
Click "Configure Admin API Scope"
-
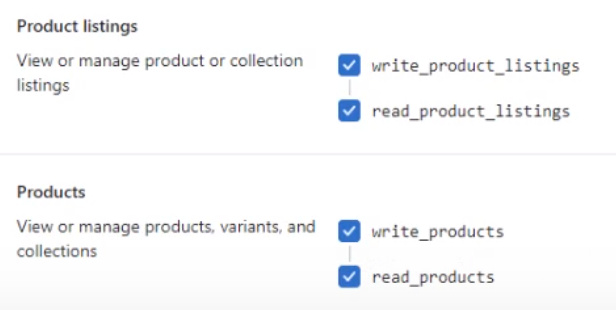
Check both
readandwriteoptions inProduct ListingsandProductssections
Leave all other checkboxes blank
Click "Save" button at the top of the page
- Click "API Credentials" tab at the top of the page
-
Click "Install App" button
Click "Install" to confirm -
Click "Reveal token once" link

- Copy token
- Paste token into last step of create account form
Link PriceCharting Access Token
The last of the one-time integration steps.
- Log into the app using the email address and password used in create account step
-
Visit this link:
link will appear when you are Legendary level subscriber
- Click "Download/API" button
-
Copy your API authentication token at the bottom of the page
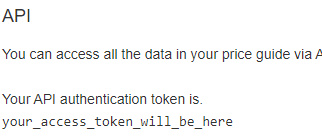
-
Paste the token into app form
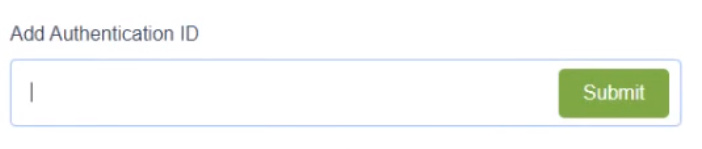
- Submit the form
You should be done with the one-time setup.
Linking Data for Price Updates
These steps allow you to link your Shopify inventory to our PriceCharting products and customize the prices you want to use with your Shopify store.
Link Products & Schedule Updates
-
Click "Configuration"
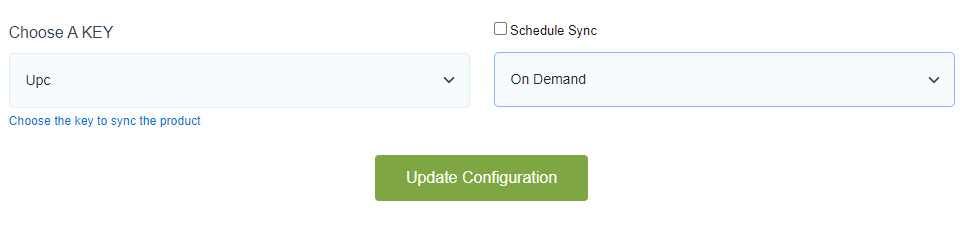
You should see options like this
-
Choose Product Category to Match
Options are: Video Games, Pokemon, Magic or YuGiOh cards.
-
Choose the schedule for price updates
On Demand = you need to manually click "Sync" for prices to update -
Choose the "Key" to link PriceCharting products to your Shopify products
This "Key" needs to be in your Shopify database.
This can be one of these:
PriceCharting ID (like6910and listed on every product page on the site)
UPC code (like045496830434
Amazon ASIN (likeB000035Y63)
TCGPlayer ID (like54761)
-
Choose A Shopify Field/ Product Metafield
Choose the Shopify field that contains the "Key" selected above
Can be one of these:
SKU: The ShopifySKUfield
Barcode: The ShopifyBarcodefield
Other field: Enter the name of the field in Shopify you want to use. - Click "Update Configuration"
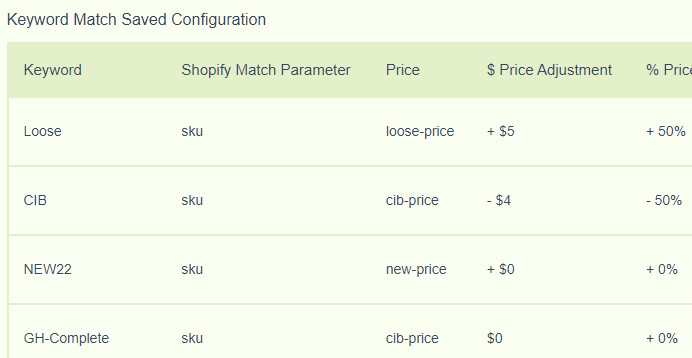
Default Saved Configuration
Choose which prices to use with which items in your database. You can create multiple configuratons for each price rule you want to setup.
BEST PRACTICE: We STRONGLY RECOMMEND creating one test keyword rule to make sure prices update as you expect. Create the test keyword to match only one product (For example, a specific SKU in your database). Then sync the prices manually. Check your Shopify database for the price on that item and make sure the price matches your expectations. Then you can delete this rule and create rules that apply to more products.
-
Navigate to the "Add New Keyword Price Configuration" section
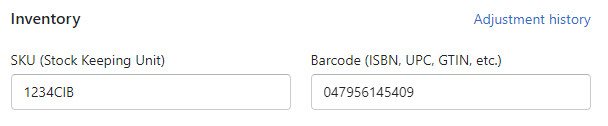
You will see options like these

-
Choose a "Shopify Key"
Either "SKU" or "Title" or "Option Value 1" (a custom label)
The field you choose is a field in your Shopify data where you store information like "Loose", "Complete", "New", "Ungraded", "Grade 10", etc to distinguish the exact condition of the item.
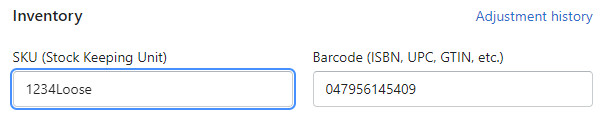
Example: A store has a SKU like "1234Loose" or "1234CIB" to distinguish product ID "1234" in "Loose" or "CIB" condition.
-
Choose a "Keyword" that you use to distinguish the condition in your database.
Example: "Loose" for keyword. Any "Key" field with the keyword "Looose" will use the price rule you choose in the next step.
Example: "Box" is keyword. Any "Key" field with the keyword "Box" will use the price choosen in the next step.
Capitalization and puctuation DO NOT matter -
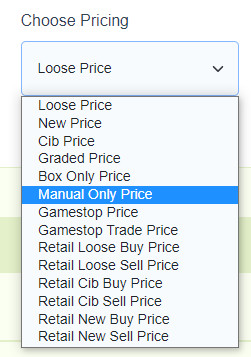
Choose a price point to associate with this keyword
Choose the price that makes the most sense for your business
For example "Loose" can equal "Loose Price" or "CIB" can equal "Retail CIB Sell"
- Save the configuration
-
Repeat if needed
Make more keyword-to-price configurations.
You can have as many keyword rules as you need.
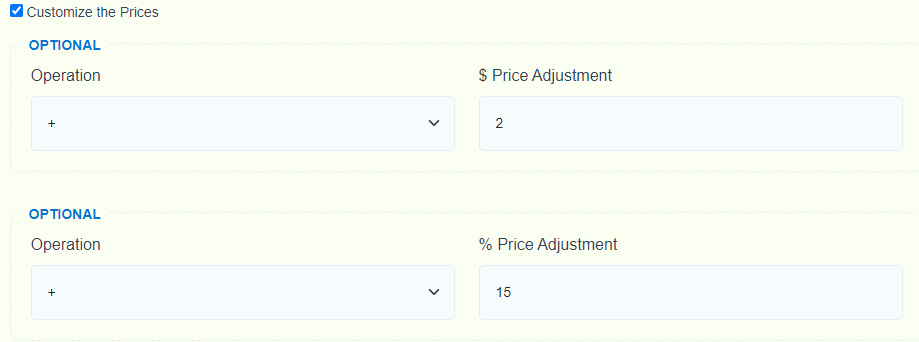
Customize Prices
Optionally, you can customize the prices to adjust them higher or lower than the standard prices. You can adjust prices by dollar amount and/or percentage.
-
Click "Customize the Prices" checkbox
-
Choose the "operation"
"+" increases the price. "-" decreases the price. -
Choose the "$ Price Adjustment"
The price will be that much higher or lower (depending on which operation you choose).
Example: +$2 will be $2 higher than price in our database
Example: -$1 will be $1 lower than price in our database -
Choose the "operation"
"+" increases the price. "-" decreases the price. -
Choose the "% Price Adjustment"
The price will be that much higher or lower (depending on which operation you choose).
Example: +10% will be 10% higher than price in our database
Example: -5% will be 5% lower than price in our database
Testing & Run Updates
Full details about testing will appear here after creating a Legendary subscription
- Categories
- Video Game Prices
- Funko Pop Prices
- Coin Prices
- Comic Book Prices
- Pokemon Card Prices
- Baseball Card Prices
- Basketball Card Prices
- Football Card Prices
- Navigation
- Home
- PriceCharting Pro
- About Us
- Contact Us
- Request Features
- Policies
- Terms of Service
- Privacy Policy
- Return Policy
![]()

PriceCharting © 2007-2026
We are user supported. We may earn an affiliate commission if you buy stuff
after clicking links on our site to eBay or Amazon
PriceIt Game |
No More Secrets Puzzle Game